Get to know From Marti Michell Perfect Patchwork Template Set B
From Marti Michell Perfect Patchwork Template Set B is one of my most used sets of templates. This set is built on a 4″ square, which if you’ve done patchwork for any period of time you’ll know is one of the most commonly used proportions.

The template set comes with 7 laser cut acrylic pieces; 3 x squares and 4 x triangles. All of these template pieces can be used to make the most commonly used patchwork block units; half square triangles, flying geese, economy blocks and quarter square triangles.
If you’ve not had the pleasure of seeing a From Marti Michell Perfect Patchwork Template Set in person let’s spend some time going through what you can expect if you get your own template set.

Step One
When you receive your template set it will come in a plastic bag and contain the following items:
- Information booklet
- 1 sheet with 7 x acrylic templates attached
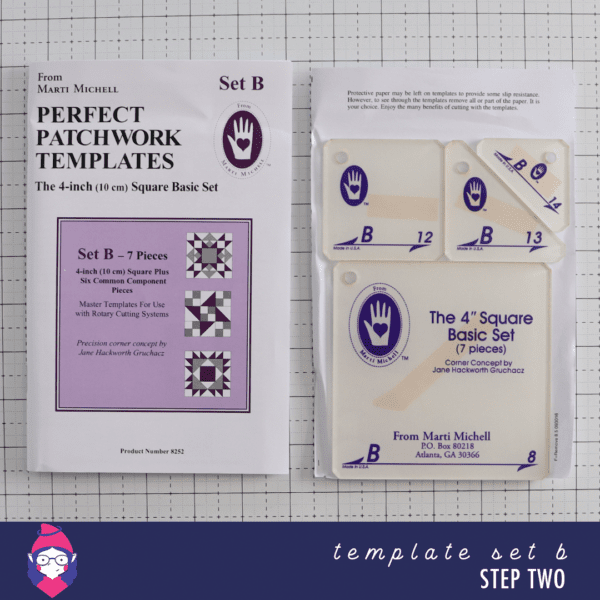
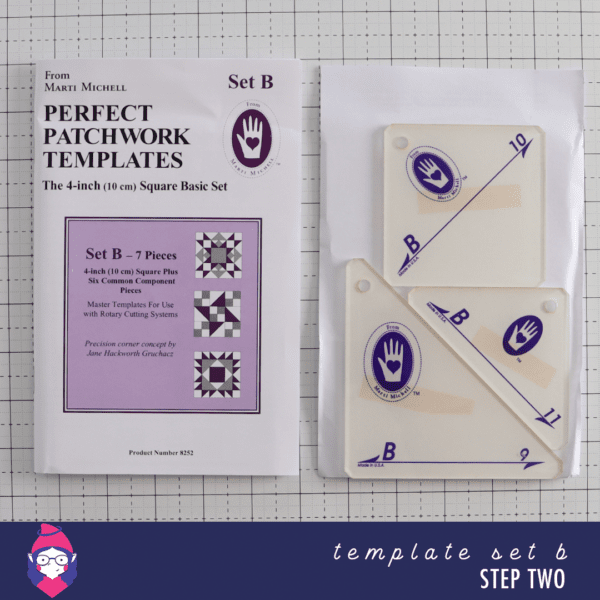
Step Two
Open the bag and remove your booklet and the sheet of templates. The templates are attached to one sheet within the pack. [Above images show both sides of the template sheet.]
Take the time to go through and read the information booklet it contains the following helpful information:
- Introduction and explanation of the sizing in the set.
- Template tricks
- Thinking about your grainline
- How to sew a 1/4″ seam allowance
- How to measure and cut strips (instructions for both right and left handed)
- Understanding the grainline arrows
- How to use the templates to upsize (or downsize) a patchwork block
- Related products
- Free patchwork block patterns
Step Three
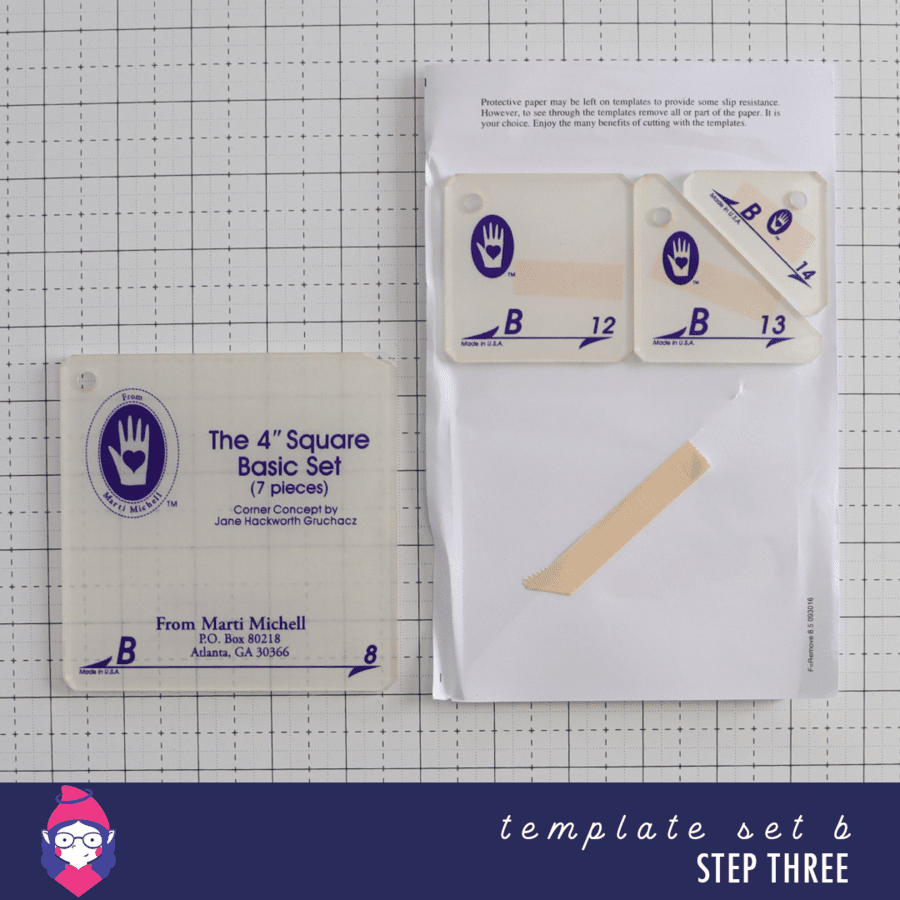
Remove the templates from the sheet. They are attached with double sided tape. The templates have a protective paper film attached to the back of them.
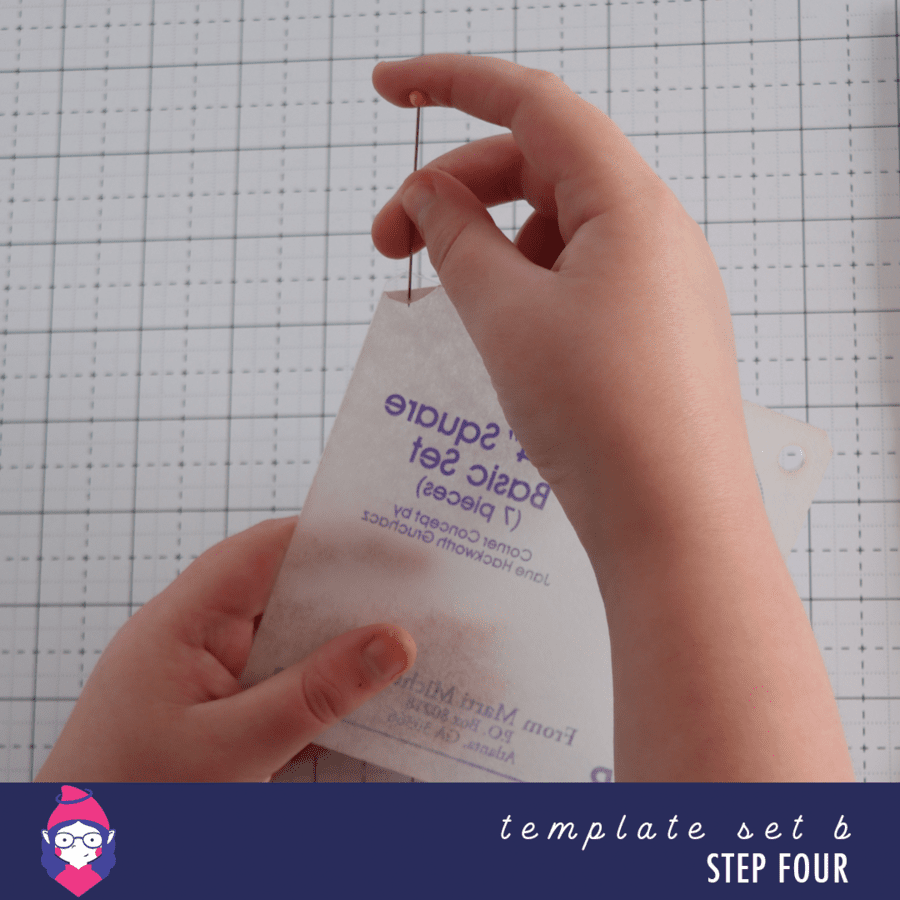
Step Four
This step is optional. Remove the protective film from the back of the templates.
TIP: I use a pin to get in under the film and leverage it up so I can peel it back.
You can opt to leave the film on the templates if you like as this can provide a little more grip when cutting your fabrics. I remove the film as I prefer to be able to clearly see the fabrics as I’m often fussy cutting.
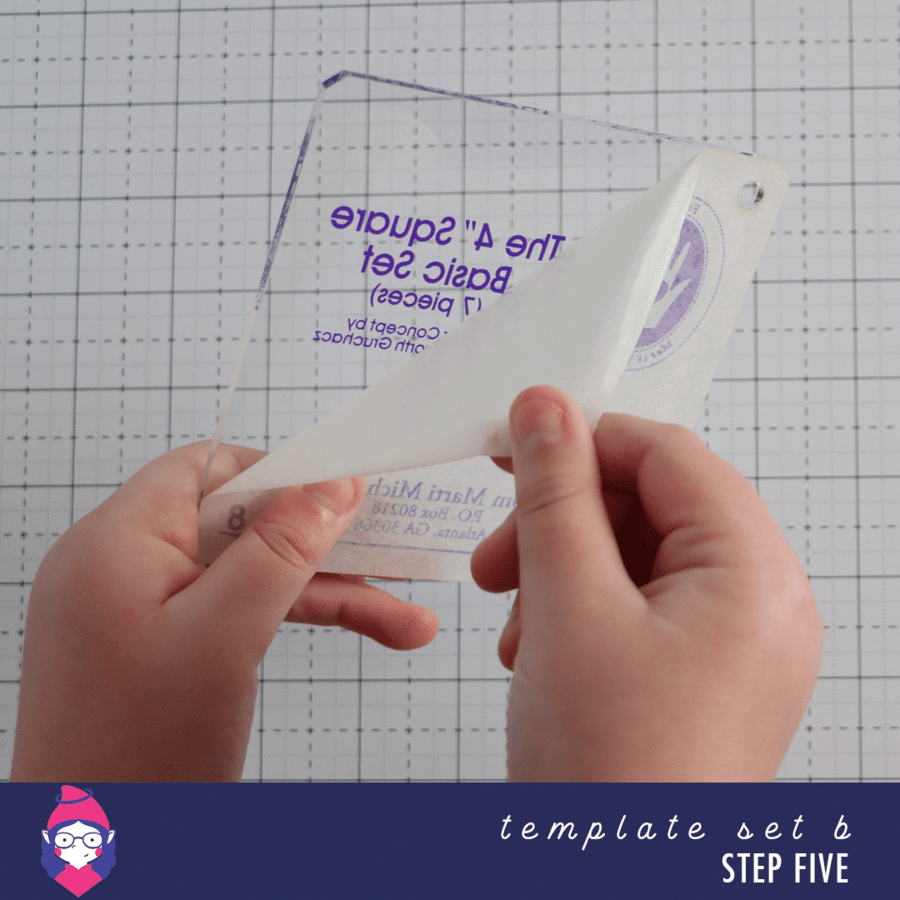
Step Five
This step is optional. Remove the protective film from the back of the templates.
The protective film will peel back easily once you get an edge up.
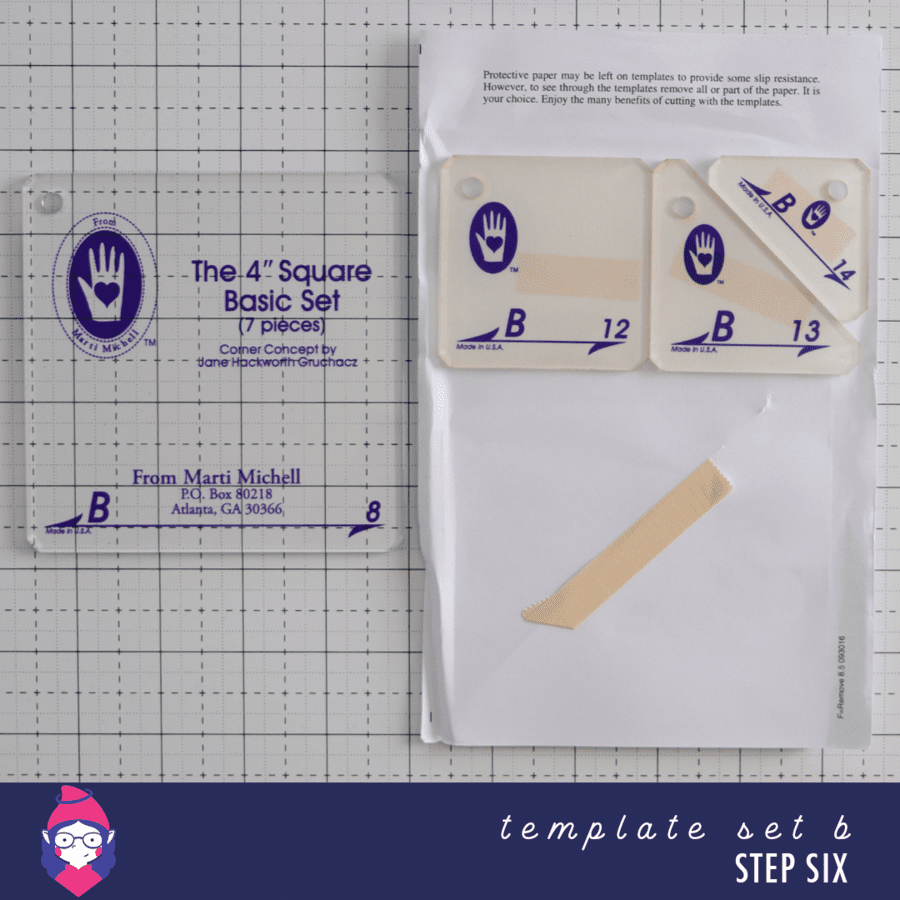
Step Six
Remove all the template from the sheet and, if desired, remove the protective film.
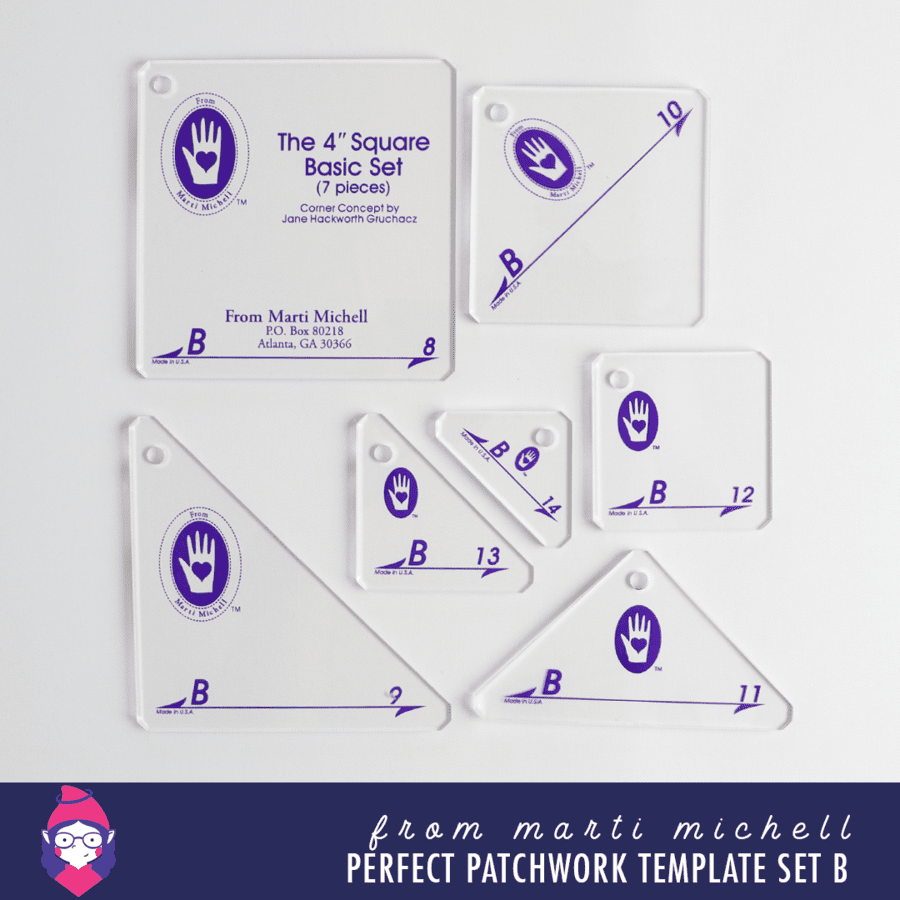
Now you’ve opened the packet, read the instruction booklet and prepared your templates let’s talk about the anatomy of a template.
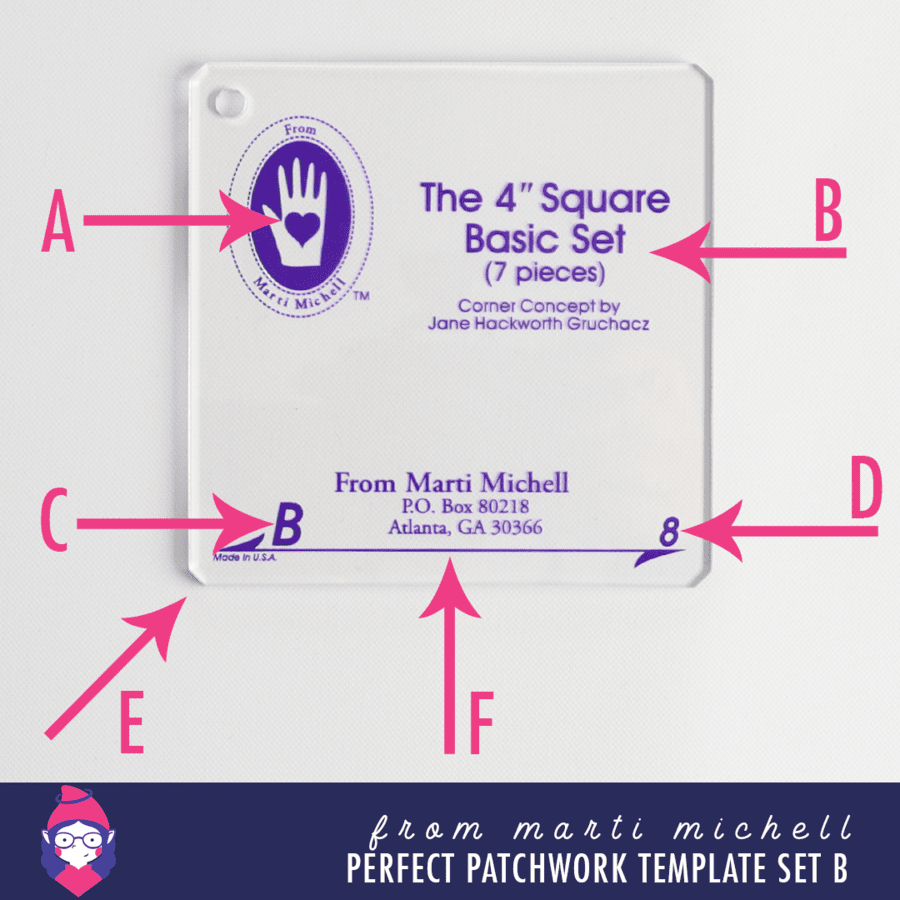
The following traits are common to the From Marti Michell Perfect Patchwork Templates:
All templates come with the 1/4″ seam allowance included in their sizing so there’s no need to add the seam – just cut around the template and you’re good to go!
A – This is the From Marti Michell logo.
B – This template is the master template and contains the information about how many pieces are in the set, the scale of the set (in this case 4″ finished size) and acknowledgement of the designer of the engineered corner concept. This is the only information printed on the template that will not appear on all templates in the set.
C – This is the letter of the set that this template belongs to. In this instance it belongs to Template Set B.
D – This is the template’s number. This plus the template set letter identifies which template you’ll use within the pattern. For example this template is the B8 template.
E – Engineered corner. This is not the 1/4″ seam mark. Trimming this corner off like this helps reduce bulk in your seams, provides you with a guide for lining up your pieces as you work, removes dog ears and removes an opportunity for your fabric to be caught in the throat plate of your sewing machine.
F – This is the grainline arrow. Please read the instruction booklet that came with your templates for more information about working with grainline.
Each template comes with a hole for ease of storing. I recommend using hinged rings to keep all your templates organised together.
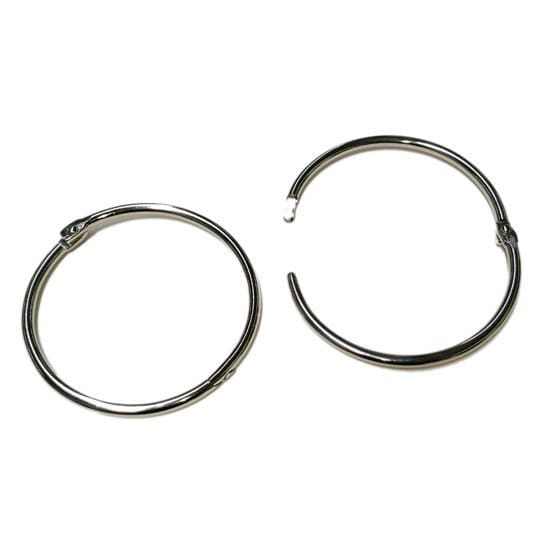
TIP: If you get into a habit of putting your templates back on to the hinged ring when you’re finished cutting with them you’re less likely to accidentally throw them in the bin with your fabric offcuts. If you do lose a template, just let me know and we can organise you a replacement template so you don’t have to purchase the entire template set again!
hear from the lady herself…
I love hearing this explanation from Marti Michell on how she came to make the template sets, how they fit together to make the most common shapes for patchwork and how excited she is about making your sewing experience better.

If you’d love to see these templates in action and learn how to make traditional patchwork blocks using this template set then join me for Free Block Friday! Every Friday I’ll be sharing a free pattern for making a patchwork block (including the quilt assembly instructions for you to make a sampler from the blocks). To get the information sent directly to your inbox simply enter your details below:
[convertkit form=2713416]
If you’d like to purchase your own From Marti Michell Perfect Patchwork Template Set B then simply click here to head to my online store.