How to Make Your Own DIY Patchwork Templates
Learn with me how to make your own DIY Patchwork Templates. Patchwork templates are old school traditional when it comes to patchwork blocks. Before the invention of the rotary cutter and acrylic rulers DIY patchwork templates where how patchworkers made all their blocks.
I admit that I’ve not always been a fan of templates, but in 2014 I found the From Marti Michell Perfect Patchwork Templates and used them to make my Farmer’s Wife quilt and I’ve been a fan ever since! It completely changed the way that I worked. My accuracy improved, my fabric waste decreased, the bulk in my seams reduced and my fussy cutting tendencies went into overdrive.
Not every one can afford to invest in the acrylic templates and so I’m very thankful that Marti Michell has provided paper templates so you can make your own DIY Patchwork Templates. This is my method for DIYing patchwork templates.

print to scale
This is the most important step in the whole process! Because every computer operating system and printer detail is different I’m going to show you on my set up (Mac) and then you will just apply the same process to your printing set up. If you get stuck don’t forget to “ask google” – just use google “how to print to scale with <insert your printer details here>”.
Now, if you can’t get the templates to print to scale it’s not a huge drama because if you print them all at the same scale your blocks will be consistently whatever size you make the templates. So, like everything, the trick here is just to be consistent.

Step One
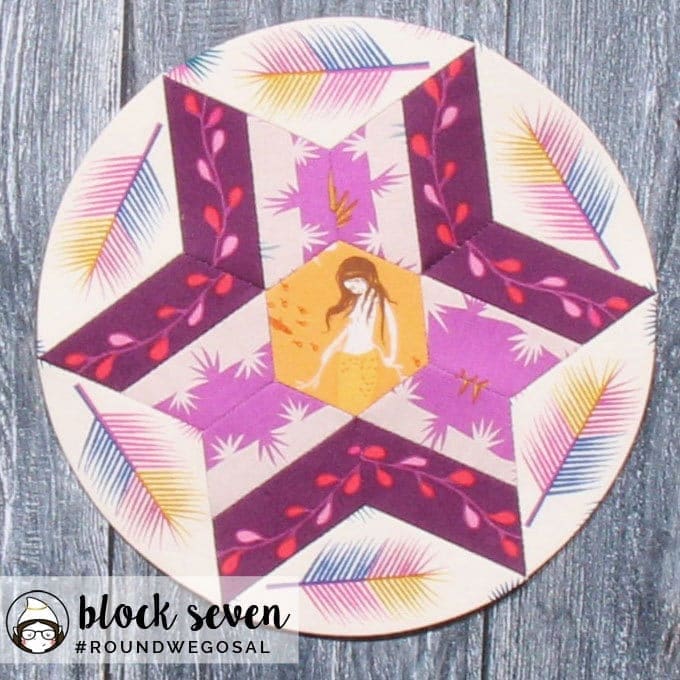
Open the document that you want to print from. In this instance I’m using the Welcome Document from Free Block Friday.
If you don’t have your copy, you can get it by signing up below and it’ll be emailed straight to your inbox:
[convertkit form=2713416]
Select Print. You then want to find the scale option in your printer settings. The arrows point to where mine is on my printer pop up box.
This is the most important thing: set this to scale at 100%.
Print out the template pages.

Step Two
Using your preferred quilting ruler (I’m using my From Marti Michell Fussy Cutter Ruler) measure the test square to make sure that it’s printed at 1″ x 1″ (shown here by the dotted seam line in my 1″ square on the ruler).
If the test square isn’t an 1″ then you have 3 options:
- Continue to mess with your printer settings until you get it right, or
- Work with the scale you’ve got.
- Third option is to outsource to a print/copy shop and let them get the scale right.
No one who’s opinion matters is going to know (or care) that your blocks are too small/big. The trick here is whatever you decide – be consistent with it!
do-it-yourself templates

Step One
You’ll need the following supplies:
- Cardboard. I’m using a cereal box, but any thick cardboard will work. (Yes, I’m at that age when bran has replaced Rice Bubbles as my breakfast of choice. *sad face*)
- Print out of Templates.
- Ruler.
- Glue Stick. You want a glue that’s going to provide a good coverage but not make your paper so wet that it’ll tear or stretch.
- Paper Scissors. Not fabric scissors!!!!!
- Rotary Cutter.
TIP: I have a paper cutting rotary cutter (luxury I know) but if you have one rotary cutter in use then my recommendation is to save those blades that aren’t sharp enough to cut your fabrics cleanly and use them to cut your paper or cardboard. I keep my old fabric blades in a jam jar and rotate them on to my paper cutting rotary cutter as needed. This is a handy tip for those of you that like to do Foundation Paper Piecing (FPP) as well.

Step Two
Cut out your paper templates.

Step Three
Coat the back of your paper template with glue. Make sure to cover all the edges.

Step Four
Stick your paper templates to the cardboard. Make sure you smooth it out so there’s no ripples in the paper.

Step Five
For the next step you’ll need your rotary cutter and ruler. I swapped to my From Marti Michell Perfect Patchwork 6.5″ Ruler because I like the seam allowance that’s included on two of the edges for making sure as I’m cutting that all the templates are straight and not warped.

Step Six
Using the edge of your ruler and the solid outside template line trim the templates to size.
It’s up to you on whether you trim on the outside of the line, on the line or on the inside of the line. You just have to be consistent with whatever you choose. I trim on the outside of the line so the full thickness of the line remains.
Remember, the seam allowance is included with the templates (it’s the dotted line) so you don’t need to add it when you trim your templates down.

Step Seven
Make sure you cut the corners exactly as the template. The corners are super important to helping you line up the pieces when it comes to your block assembly.

Step Eight
Repeat the steps above to make all the templates you’ll be needing.
Bonus Tips
If you find your templates curling, simply store them inside a book. (I find Barbara Brackman’s Quilt Encyclopedia perfect for this job.)
If you have access to packing boxes (corrugated cardboard) use this instead of the cereal box. It’s thicker and less likely to get trimmed as you work. You’ll need a sharp rotary cutter blade to cut through these when you’re making your templates.
If you’re worried about trimming the edges of your templates as you work simply use a fabric pencil/pen to draw around the edges of your templates and then cut along the inside of your line markings with a rotary cutter + ruler or scissors.
shop the template bundles
If you’ve made the DIY templates and you fall in love with them, then why not consider upgrading to the acrylic template sets?
I love them because:
- It’s a consistent measurement.
- I can’t accidentally trim off part of the template as I work.
- It’s a one-off investment (they don’t break, with normal use – if you run them over with a truck I don’t hold much hope for them, so you don’t need to replace them).
- I can use them with nearly every patchwork block that’s out there.
If you’re ready to invest then I’ve put together some handy bundles of the most popular template sets and rulers.


Additional Information
Now, I’m sure some of you are wondering about template plastic (it’s a special sheet of plastic you can buy for making templates) and you can totally use template plastic to make your templates. There’s a couple of reasons I don’t use that method for these templates:
- The printed templates have a lot of information on them (grainline, seam allowance, template number) that I want to use and if I transfer it to the plastic it’s just another avenue to make a mistake.
- If you draw your own template lines there’s a lack of consistency in pen pressure and thickness that can add slight inconsistencies to your templates that will result in big problems when it comes to your quilt assembly.
- Template plastic is just another thing to buy and I’d rather spend that money on the acrylic templates if I was going to buy something. Cardboard is something we all have in our homes and can get as a by-product of other expenditure.
- Gluing paper to template plastic can be tricky and sometimes it comes off with consistent use.
However, if you’d like to use template plastic then I’ve got this tutorial from the lovely team at Fons & Porter that will give you everything you need to use this method.
looking for sewing friends?
wanna make template patchwork blocks with me?

I consider myself a traditional patchworker who uses contemporary fabrics and templates. I love this technique for block construction so much that I’m devoting my Friday’s to sharing with you patchwork block and sampler quilt patterns with you to show you how amazing working with templates can be.
If you’d like to join me (I’d love to have you along for the adventure) then pop your details below and you’ll get the information sent straight to your inbox.
[convertkit form=2713416]
Got a Question?
If there’s something you’d like further details about the information covered in this blog post simply drop me an email via my contact page and we’ll get it sorted together.