
Hope from Hartford Block for Jen Kingwell’s Gypsy Wife Quilt Sew-along
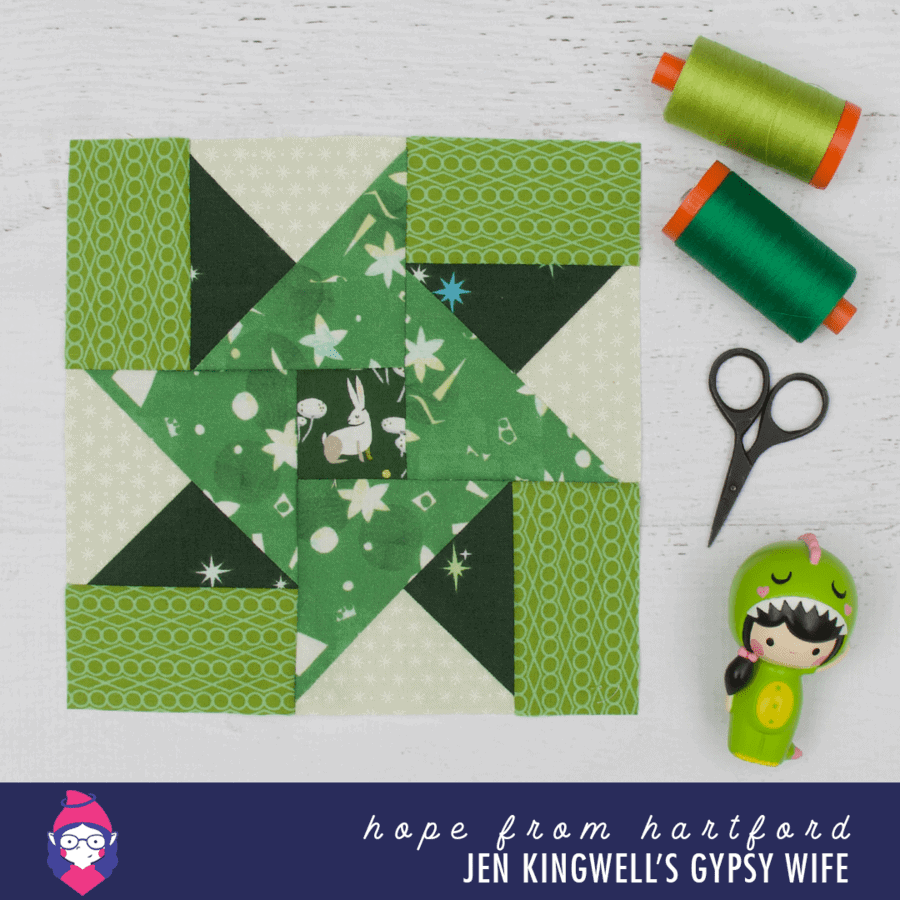
Hope from Hartford is the block of choice for this week in the Jen Kingwell’s Gypsy Wife Quilt Sew-along. I’m not going to lie I was having a little bit of a freak out about how to sew a partial seam when it came to this block. I’d had some pretty horrid experiences with partial seams while working through the 1930’s Farmer’s Wife quilt and so I was avoiding this block a little. But I shouldn’t have worried because: nailed it! I’ve put some details below about how I made this block to help you if you were peaking like I was.

Hope from Hartford Alternative Construction
For the purpose of these alternate instructions you will need to use these in conjunction with the instructions on page 9 of your Gypsy Wife pattern book.
- Fabric I = Green Printmaking
- Fabric J = Pale Green Astericks
- Fabric K = Dark Green Stars + Green Circles & Diamonds (rectangle pieces)
- Fabric L = Rabbit
Must do: Grab a pencil and beside each cutting measurement write a number starting at 1 and ending at 5 from top to bottom of the list. You’ll need to number the cutting instructions like this so you know what measurement I’m referring to. Due to copyright reasons and my undying respect for the pattern designer I will not be telling you the direct measurements for this block, you will need to follow my instructions below and use the pattern to work it out.
Please note: Due to the directional nature of the large (green printmaking) triangles and the smaller triangles within the block you will make twice as many of the 3 triangle units. This means you will have leftover triangle units. (Pop this in the orphan block pile in your sewing room and use on other projects, or as part of the backing for this quilt.)
Cut from Dark Green Stars (Fabric K)
2 – Square equalling measurement 2 with an added ¼” (Piece 1)
4 – Rectangles matching measurement 4 (Piece 2)
Cut from Pale Green Astericks (Fabric J)
2 – Square equalling measurement 2 with an added ¼” (Piece 3)
Cut from Green Print Making (Fabric I)
4 – Square equalling measurement 3 minus ¼” (Piece 4)
Cut from Rabbit (Fabric L)
1 – Square matching measurement 5 (Piece 5)
Construction

- On the wrong side (back) of all Piece 1 draw a diagonal line with a pencil/fabric pen from one corner to the opposite corner as per step 1 above.
- Take 1 Piece 1 and 1 Piece 3 and put them right sides together as per step 1 above.
- Stitch a scant quarter inch seam on either side of the line as per step 2 above.
- Trim along the drawn line as per step 3 above. Press to the darkest fabric (this will help with making the three triangle units.) This will make 2 HST units. Trim to the measurement 3 minus ¼”. These will be referred to as HSTs in the rest of the construction method.
- Repeat steps to make another HST unit. You will need 4 of these units.
- Take 1 HST and 1 Piece 4 square and put them right sides together as per step 1 above. Pay close attention to matching the right colours together. Important: the drawn line must run in the opposite direction of the seam line so they form an X as shown below.

- Stitch a scant quarter inch seam on either side of the line as per step 2 above. Open the seam up to confirm that you have stitched them so that when trimmed along the stitch line you’ll have formed the 3 triangle unit as per the pattern diagram
- Trim along the drawn line as per step 3 above. This will make 2 three triangle units. Trim all units to 3.5″.
- Repeat steps 6 – 9 to make 8 of these units. You will only need 4 to complete the block. Pop the spare blocks into your orphan block stash to use in another project.
- Important: Lay your units and remaining pieces out as per the construction diagram on page 9 pay close attention to the placement of the fabrics so that it matches the diagram.
- Follow the assembly instructions (skipping the section that starts with “Taking a triangle of Fabric J…” and ends with “Repeat to make 4 identical units.”) to complete the construction of this block.
If you’ve not done a partial seam before this video shows how easy it is to do:
If you’d rather read about how to do it there’s a great tutorial from Faith at Fresh Lemon Quilts which you can read by clicking here.
Hopefully these instructions aren’t too hard to follow and you end up with a block that you love. There’s nothing wrong with following the instructions as they are in the pattern, you’ll end up with a great block that way, I just prefer to make triangle units using this method because I’m clumsy and heavy handed and so tend to stretch out triangles when done as per the pattern method. This method allows me to make them and trim to size which helps with my accuracy. As always, find a method that works for you and use that!
That’s everything… for now… as always if you have any questions either drop me a line or leave a comment below and I’ll do my best to help you out. I hope you love making this quilt as much as I have, it’s such a fun way to make a unique sampler.


HI Angie. I’m playing catchup here and am about to start ” Hope from Hartford”. I did notice that you have the instructions for this block showing as ” From the Heart”
Carol
Oh good pickup Carol! I completely missed changing the heading – thanks for letting me know! ❤️